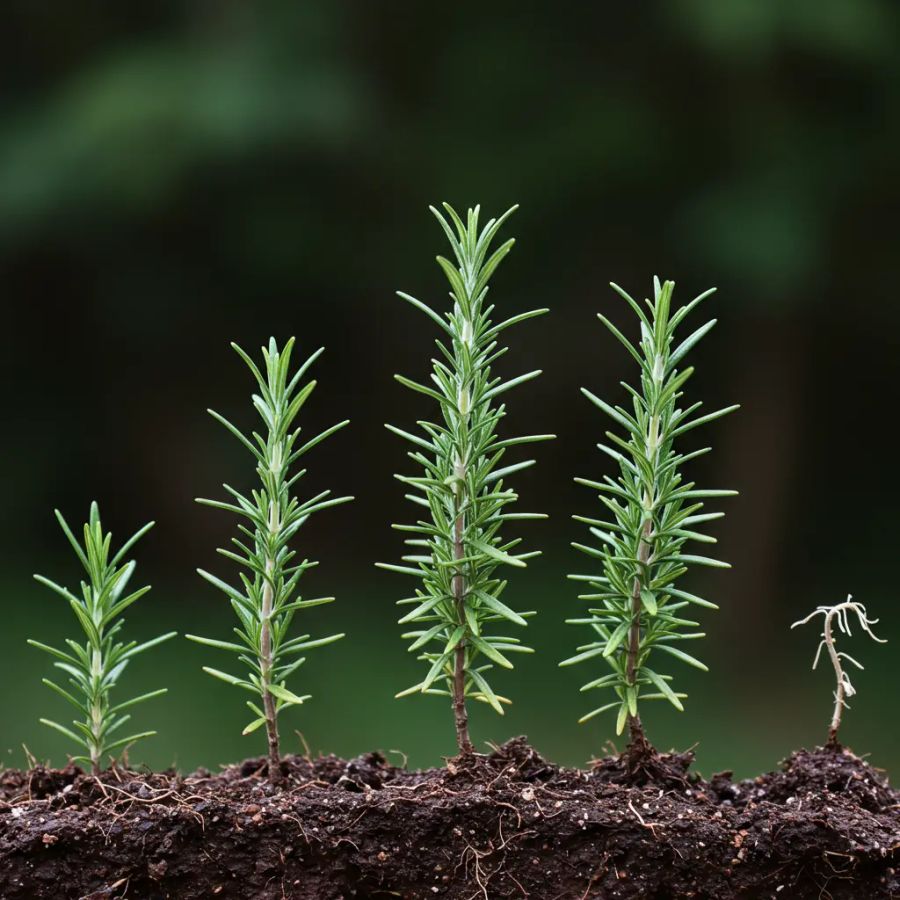
Let's talk about rosemary. If you've ever tried to grow this wonderfully fragrant herb from a tiny seed, you might have a love-hate relationship with it. For years, I did too. I'd follow the packet instructions perfectly, only to be met with a pot of soil that stubbornly refused to sprout. It felt like a gardener's rite of passage I just couldn't complete.
But then, I learned that rosemary doesn't play by the same rules as basil or parsley. It's a bit of a diva. It has very specific demands, and once you understand them, the whole process clicks into place. Today, I'm going to share the exact method I use to get beautiful, healthy rosemary plants from seed, every single time. Trust me, it's a challenge, but the reward of snipping fresh rosemary that you nurtured from the very beginning is unbeatable.
In a rush? Here are the key takeaways:
- Start Early & Indoors: Begin 10-12 weeks before your last frost date. Patience is your best friend.
- Light & Heat are Key: Seeds need light to germinate, so barely cover them. They also demand consistent warmth (70-80°F / 21-27°C).
- Don't Drown Them: This is the #1 mistake. Rosemary hates wet roots. Let the soil dry out between waterings.
- Harden Off Slowly: Gradually introduce your seedlings to the outdoors over a week to prevent shock.
Why Is Rosemary So Darn Hard to Grow from Seed?
Before we dive into the "how," let's quickly cover the "why." Why does this plant test our patience? Honestly, it's because their seeds are naturally slow and have a lower germination rate than many other herbs. In their native Mediterranean climate, they take their sweet time. By knowing this, you can stop blaming yourself and start giving them what they need.
Think of it less as a sprint and more as a slow, rewarding journey. Ready to start?
Step 1: Giving Your Seeds the VIP Treatment Indoors
The secret to success begins long before your garden is ready for planting. I start my rosemary seeds about 10 to 12 weeks before the last expected frost. This long runway gives them the time they need to grow strong enough for the outdoors.
First, forget about using heavy garden soil. It will compact and smother your delicate seeds. You need a light, well-draining seed-starting mix. Sprinkle the tiny seeds right on top of the prepared soil. Here's a pro-tip: don't bury them! Rosemary seeds need light to germinate. Just a whisper-thin dusting of soil over the top is all you need.
Now, gently moisten the surface. A spray bottle is your best tool here, as a heavy stream of water will wash the seeds away. Cover the container with a plastic dome or some cling film to create a mini-greenhouse. This locks in the humidity and warmth the seeds crave.
Place the container somewhere consistently warm—ideally between 70 and 80°F (21-27°C). The top of a refrigerator or a dedicated heat mat works wonders. Then, we wait. This isn't a 3-day process; germination can take anywhere from two to four weeks. Don't give up on them!
Step 2: Nurturing Your Baby Seedlings (The Art of Tough Love)
Did you see a sprout? Congratulations, you've cleared the first hurdle! The moment you see green, your job changes. Those seedlings need two things immediately: light and careful watering.
Light: Whisk that plastic cover off and move them to the sunniest windowsill you have. If you don't have a spot with at least 6-8 hours of direct sun, a simple grow light is a game-changer. I run mine for about 12 hours a day to keep the seedlings from getting "leggy"—long, thin, and weak.
Water: This is where most gardeners go wrong. We want to nurture our plants, so we water them... and water them... and kill them with kindness. Rosemary is a Mediterranean native that despises having constantly wet roots ("wet feet"). Let the soil surface dry out completely between waterings. It feels wrong at first, but this is the tough love rosemary needs to thrive.
Good air circulation is also surprisingly important for preventing fungal diseases. If your room is stuffy, a small, gentle fan pointed near the seedlings for a few hours a day can make a huge difference.
Step 3: The Big Move Outdoors (Don't Rush This!)
Your seedlings are looking sturdy. The weather is warm. It's tempting to just plant them straight into the garden, right? Please don't! After living a pampered life indoors, the shock of direct sun, wind, and temperature swings can kill them instantly.
We need to introduce them to the real world gradually. This process is called hardening off, and it's non-negotiable for tender seedlings.
Here's my simple, week-long schedule:
- Day 1-2: Place them outside in a shady, protected spot for just one hour.
- Day 3-4: Increase their outdoor time to a few hours, introducing a little bit of gentle morning sun.
- Day 5-6: Let them have more sun and stay out for most of the day.
- Day 7: They should be ready!
Once hardened off and all danger of frost has passed, you can plant your rosemary in a large pot or a garden bed. The rules are the same as inside: pick a spot that gets at least six hours of direct sun and has excellent drainage. If you have heavy clay soil, amend it with sand or compost to help it drain better.
And that's it. You've done it! You've taken one of the garden's most finicky seeds and nurtured it into a beautiful, aromatic plant. The next time you're cooking and need a sprig of rosemary, you'll have the immense satisfaction of snipping it from a plant you grew yourself. It just tastes better that way.
